
UVK Help - Uninstall


Overview of the uninstall process
If you are looking for information about the UVK portable uninstall prompt, click here.
UVK can be easily uninstalled through the Smart uninstaller or the Programs and Features control panel applet.
To uninstall UVK using the smart uninstaller, launch UVK, press Smart uninstaller, select the UVK - Ultra Virus Killer item in the list, ensure Use forced uninstall is not checked and press Uninstall selected.
To uninstall UVK using the Programs and Features control panel applet, open the Windows control panel, press Programs and features, select the UVK - Ultra Virus killer application in the list and press Uninstall.
Note: When using the branding license, the application's name and icon will be different, corresponding to the branding application name.
You will be asked to confirm that you want to remove the application, through a dialog box similar to the one in the picture below.
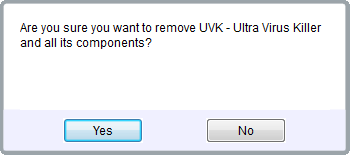
At this point, if you press No, nothing will be uninstalled, and no changes will be made to your system.
If you press Yes, UVK will start removing itself from your computer. At some point of the uninstall process, you will be prompted if you want to perform a clean uninstall. The prompt will be done through a dialog box similar to the one in the picture below.
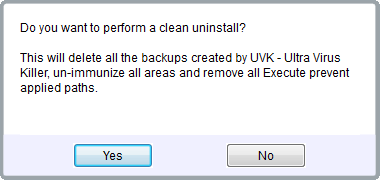
This option will affect any registry and other backups made by the application, the System immunization and Execute prevent paths, if enabled.
If you press Yes, all backups will be deleted, Any immunized areas will be un-immunized, and any Execute prevent applied policies will be removed.
Otherwise, if you press No, and the System immunization or Execute prevent is enabled, a desktop shortcut will be created in your desktop folder, named Configure Immunization, which will allow you to disable the System Immunization or Execute prevent whenever they are blocking a program or Windows update. You can use the same shortcut later to restore the previous state of the System immunization or Execute prevent. More info below.
When the uninstall process is complete, You will be presented with a dialog box similar to the one in the picture below.
Configure immunization after uninstall
As mentioned before, if you remove UVK while the System immunization or Execute prevent is on, a desktop shortcut will be created in your desktop folder. It will look similar to this picture:
The System immunization and Execute prevent largely improve the security of your system, and they do not use any system resources. The only inconvenient is that they can also block some ligitimate programs, and some Windows updates from installing properly.
So, when you get access denied errors when installing programs or Windows updates, it may be caused by the System immunization or Execute prevent. Double-click the Configure immunization icon. A dialog box similar to the one in the picture below will popup.
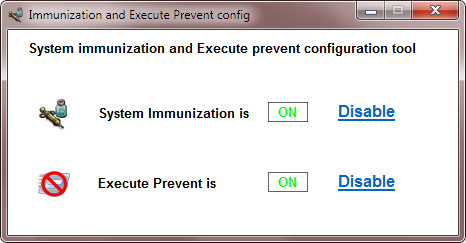
This dialog box allows you to quickly disable the System immunization and/or Execute prevent in one click. Just press the corresponding Disable link. After disabling both, the dialog box will look like the picture below.
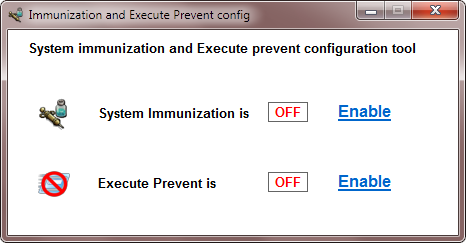
After installing the blocked program or Windows update, you can restore the previous immunization by pressing the Enable links. Note that some programs and Windows updates need to reboot the computer to complete the installation. In that case you should restore the immunization only after your PC is rebooted.
UVK Portable automatic uninstall
The portable UVK packages perfrom a quick installation of the application, and after you close the last running instance of UVK they ask you if you want to remove the application. The prompt's dialog box will look like the picture below.
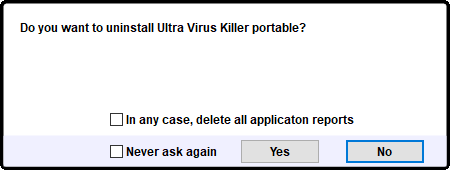
Note: The application name displayed in this dialog box is different if you are using a branding license.
You can press Yes if you want to remove the application. In this case, no other dialog box will be displayed. If the System immunization or Execute prevent is enabled, the Configure immunization shortcut is created.
Or you can press No if you want to keep the application installed. In this case, if Don't ask again is checked, this dialog box will not be displayed again, but you can uninstall the application whenever you want through to normal uninstall method explained above
